Company Configuration (ID Formats & Picklists)
As a Company Administrator, you can configure how Planmaster formats system-generated reference codes and customize the dropdown choices available across forms in your company workspace.
Access these settings from the left sidebar under Settings > Company Config.
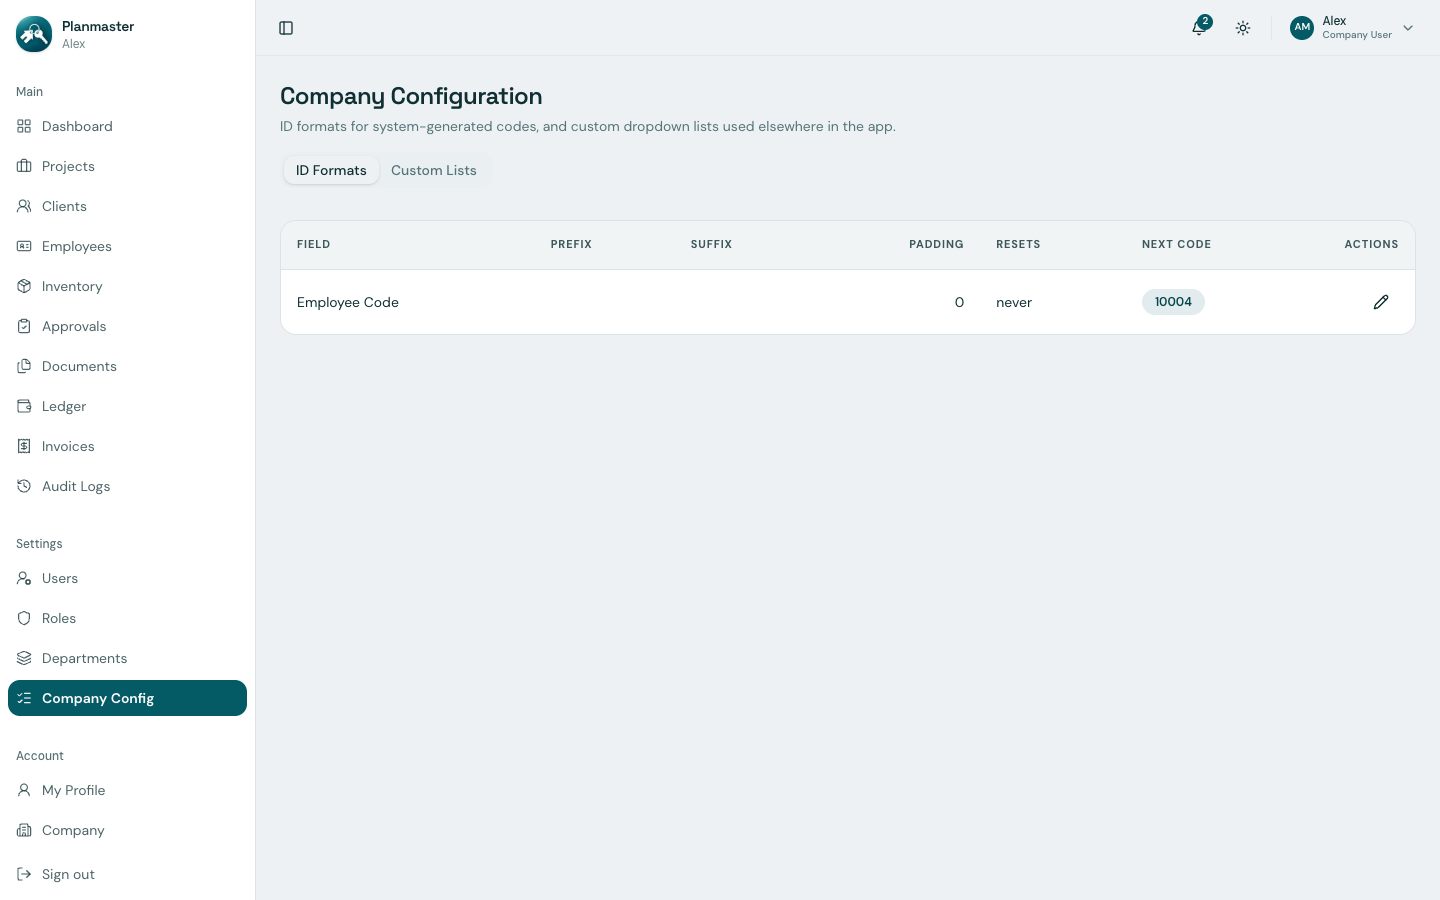
1. ID Formats (Auto-Sequencing)
Planmaster automatically assigns unique, standardized identification codes when your team adds new records (such as Employee Codes).
Under the ID Formats tab, you can customize the structure of these codes:
| Configuration Setting | What it Controls | Real-Life Example |
|---|---|---|
| Field | The database entity using the sequence | Employee Code |
| Prefix | Characters placed before the numeric sequence | EMP- or APEX- |
| Suffix | Characters placed after the numeric sequence | -BLR or /2026 |
| Padding | Total digit count, padded with leading zeros | 4 digits (0001, 0002) |
| Resets | Frequency at which numbering restarts | never, annually, monthly |
| Next Code | Preview of the next code to be assigned | APEX-EMP-10004 |
How to Edit an ID Format:
- Go to Settings > Company Config.
- Under the ID Formats tab, locate the field you wish to customize.
- Click the Edit button.
- Update the prefix, padding, or reset rules, then click Save.
2. Custom Lists (Picklists)
Every construction firm operates with specific classifications. Under the Custom Lists tab, administrators manage the dropdown options used throughout the application:
Standard Picklists:
local_body_type(Local Body Type):- Configures the governing civic or municipal authorities used during project creation and municipal filing.
- Default Options: Gram Panchayat, Panchayat Samiti, Zilla Parishad, Nagar Panchayat, Municipality, Municipal Corporation, Cantonment Board.
project_type(Project Type):- Configures the contractual nature of jobs undertaken by your company.
- Default Options: Permit, Completion, Renovation, Maintenance, Survey.
How to Manage Picklist Values:
- Click the Custom Lists tab.
- Click Manage Values next to the picklist you want to edit.
- Add new options (e.g., adding Town Planning Authority or Industrial Estate Development Authority) or deactivate unused values.
- Click Save.
The updated choices will immediately appear in the corresponding dropdown menus across the entire workspace!