Recording Expenses (Ledger)
The Ledger module (/ledger) acts as your company's digital cashbook and financial journal. Whether paying for municipal plan approval fees, hiring a mobile crane, buying diesel for an on-site excavator, or disbursing subcontractor labor advances, recording every cash movement in the Ledger keeps your project budgets truthful.
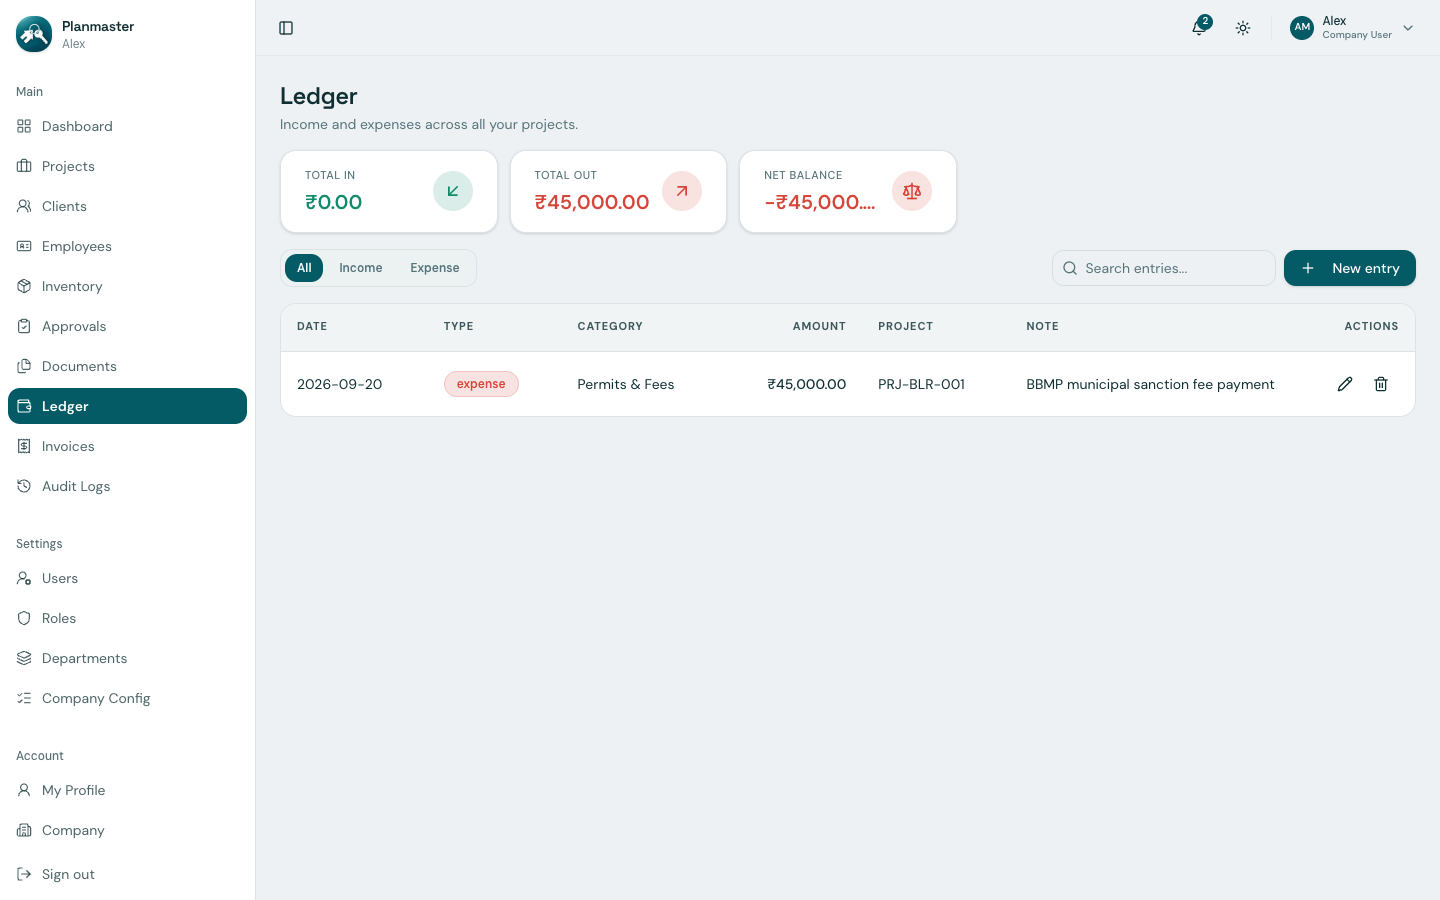
How to Record an Expense (Step-by-Step)
- Click Ledger in the left sidebar menu.
- Click the blue New entry button in the top action bar.
- Complete the transaction entry:
- Type: Choose
Expensefor money going out (orIncomefor miscellaneous site income like scrap sales). - Date: The date the payment cleared or voucher was signed.
- Category: Select the transaction classification:
- Client Payment / Advance (Money received from or advanced to a client)
- Materials (Direct local purchases of hardware, binding wire, admixtures)
- Labour (Piece-rate masonry, bar bending, shuttering labor)
- Equipment (Crane, excavator, transit mixer hiring charges)
- Transport (Diesel for generator sets, tipper truck freight)
- Subcontract (Payments to subcontracted trades)
- Permits & Fees (Municipal sanction, environmental clearances, labor cess)
- Other (Anything that doesn't fit the categories above)
- Amount (₹): The transaction value in Rupees (e.g.,
45000.00for ₹45,000). - Project: Select which project this transaction belongs to. Every ledger entry is currently tied to a project.
- Description: Plain explanation (e.g., Town planning sanction fee paid to BBMP) — record the bill number, voucher ID, or bank UTR here since there is no separate reference field.
- Click Create.
Automatic Financial Impacts in Planmaster
Recording an expense triggers real-time updates across the platform:
- Project Budget Variance: If linked to a project, the expense is immediately booked under that site's Finance tab. The Total Spent increases and the remaining Budget Variance recalculates automatically.
- Dashboard Net Cashflow: The company's net cashflow on the home screen (
/dashboard) updates instantly ($\text{Net Cashflow} = \text{Total Inflow} - \text{Total Outflow}$). - Audit Ready: When your statutory auditor or chartered accountant reviews quarterly accounts, all voucher numbers, projects, categories, and dates are already structured for one-click audit verification.